
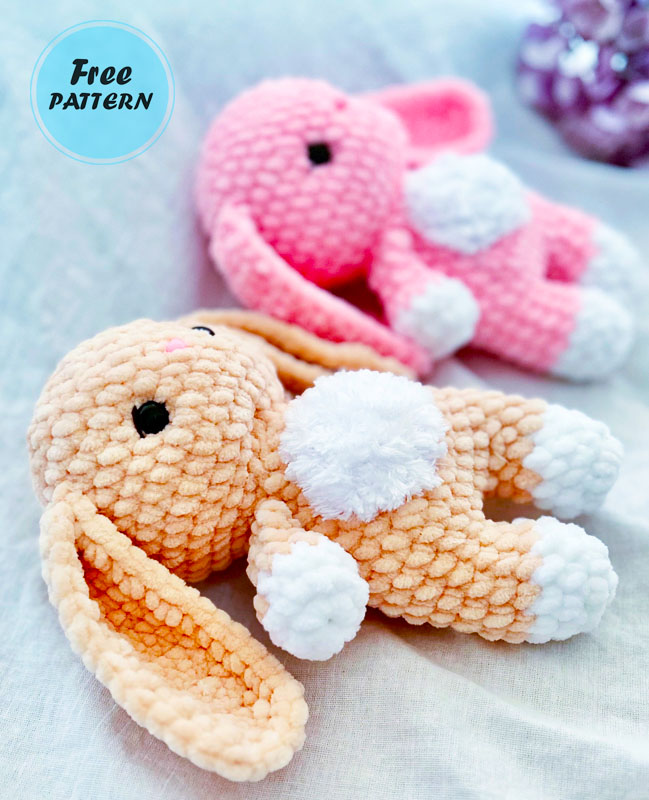
It’s a nice day to make a simple and cute bunny, isn’t it? Especially if the bunny amigurumi is made using chenille yarn, I can say that it is one of my favorite patterns. As you can see, especially the head and body design of the amigurumi bunny has a very simple design, and you can immediately notice this when you examine the pattern below. Even though the amigurumi toy has rather large ears compared to its body, the bunny looks very nice thanks to the curved ears, and the furry part on the bunny’s chest looks very cute.
Designer: mkigrushky
Materials
*Himalaya Dolphin Baby – less than 1 skein of pink and some white of the same yarn
*Fable Fur Yarnart – a little for a fluffy chest
*Hook – 4mm
*Safety eyes -14mm
*Safety spout – 10mm
*Black yarn or thread – to decorate the eyes
*Needle for stitching parts
*Padding material
The size of the finished toy is 20cm (including the use of recommended materials)
Abbreviations:
MR – Magic Ring
ch – chain
sc – single crochet
slst- slip stitch
inc – increase
dec – decrease
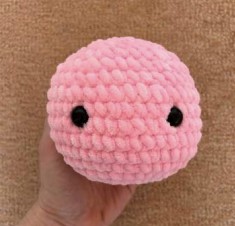
Head
1: 8sc in MR (8)
2: 8inc (16)
3: (1sc, inc)*8 (24)
4: (3sc, inc)*6 (30)
5: 2sc, inc, (4sc, inc)*5, 2sc (36)
6: (5sc, inc)*6 (42)
7-9: 42sc (42)
10: (5sc, inc)*6 (36)
11: 36sc (36)
Insert safety eyes between 8 and 9 rows (distance between eyes 6-7sc), insert safety spout between 8 and 9 rows)
12: (4sc, dec)*6 (30)
Stuff as you crochet
13: (3sc, dec)*6 24)
14: (2sc, dec)*6 (18)
15: (sc, dec)*6 (12)
16: 6dec (6)
Cut the thread
Arms:
We start crochetting in white
1: 6sc in MR (6)
2: 6sc (12)
3: 12sc (12)
We continue to crochet in pink
4: 6dec (6)
5-6: 6sc (6)
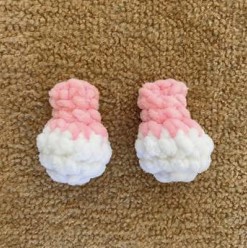
Stuff the ends of the handles Fold the arm in half and crochet 3 sc on both sides Cut the thread
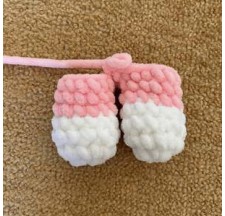
Legs-body:
We start crochetting in white
1: 6sc in MR (6)
2: 6inc (12)
3-4: 12sc (12)
We continue to crochet in pink
5-6: 12sc (12)
Cut the yarn, we crochet the second leg in the same way, but do not cut the yarn, we continue crochetting

Attaching the legs:
7: 2 ch, 12 sc on the first leg, 2 sc on a chain of ch, 12 sc on the second leg, 2 sc on a chain of ch(28)
8: (13sc ,inc)*2 (30)
9-10: 30sc (30)
11: (4sc, dec)*5 (25)
12-13: 30sc (30)
14: (3sc, dec)*5 (20)
15-16: 20sc (20)
In the next row we will crochet arms
17: 4 sc, 3 sc with arm, 6 sc, 3 sc with arm, 4 sc (20)
Stuff, leave thread for sewing

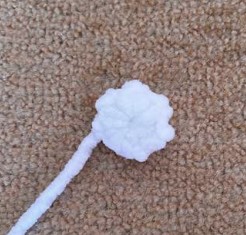
Tail:
1: 6sc in MR (6)
2: 6inc (12)
3: 12sc (12)
Stuff a little, leave the thread for sewing
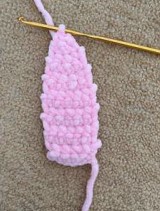
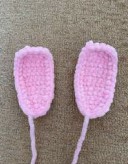
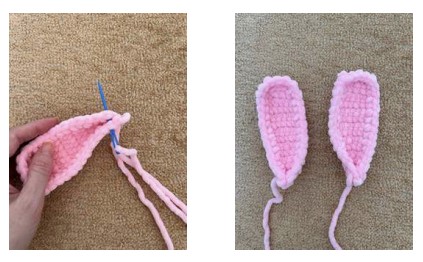
Ears:
We will crochet in turning rows
1: Start 6ch
2: 5sc, 1ch (5)
3: 5sc, 1ch (5)
4: 2sc, inc, 2sc, 1ch (6)
5-9: 6sc, 1ch (6)
10: 2sc, dec, 2sc, 1ch (6)
11: 5sc, 1ch (6)
12: sc, dec, 2sc, 1ch (4)
13: 4sc, 1ch (4)
14: 2dec, 1ch (2)
15:dec
We do not cut the thread, we tie our part on 3 sides with single crochets. Click here to watch video
Ears:
Video
Fold the ears at the base and stitch several times
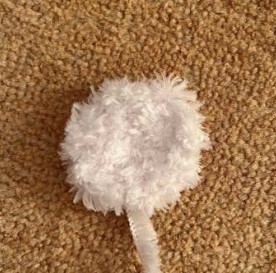
Breast
1: 6sc in MR (6)
2: 6inc (12)
3: (1sc, inc)*6 (18)
Leave the thread for sewing
Drawstring
Watch the video How to make a tightening
Click here: Video
Assembly
Sew on the ears at the 11th row level
Sew on the breast as shown in the photo
Sew the tail between rows 9 and 11
Embroider a line over the eyes like